
Coco Zone — How to convert a terrible zone to a fertile area 💩 —> ✨
On this article we’ll be addressing a challenge we all face. We are going to talk about that terrible zone you have at your property and aren’t sure what to do with. And then we’ll tell you to use it to grow beautiful fruit, of course.
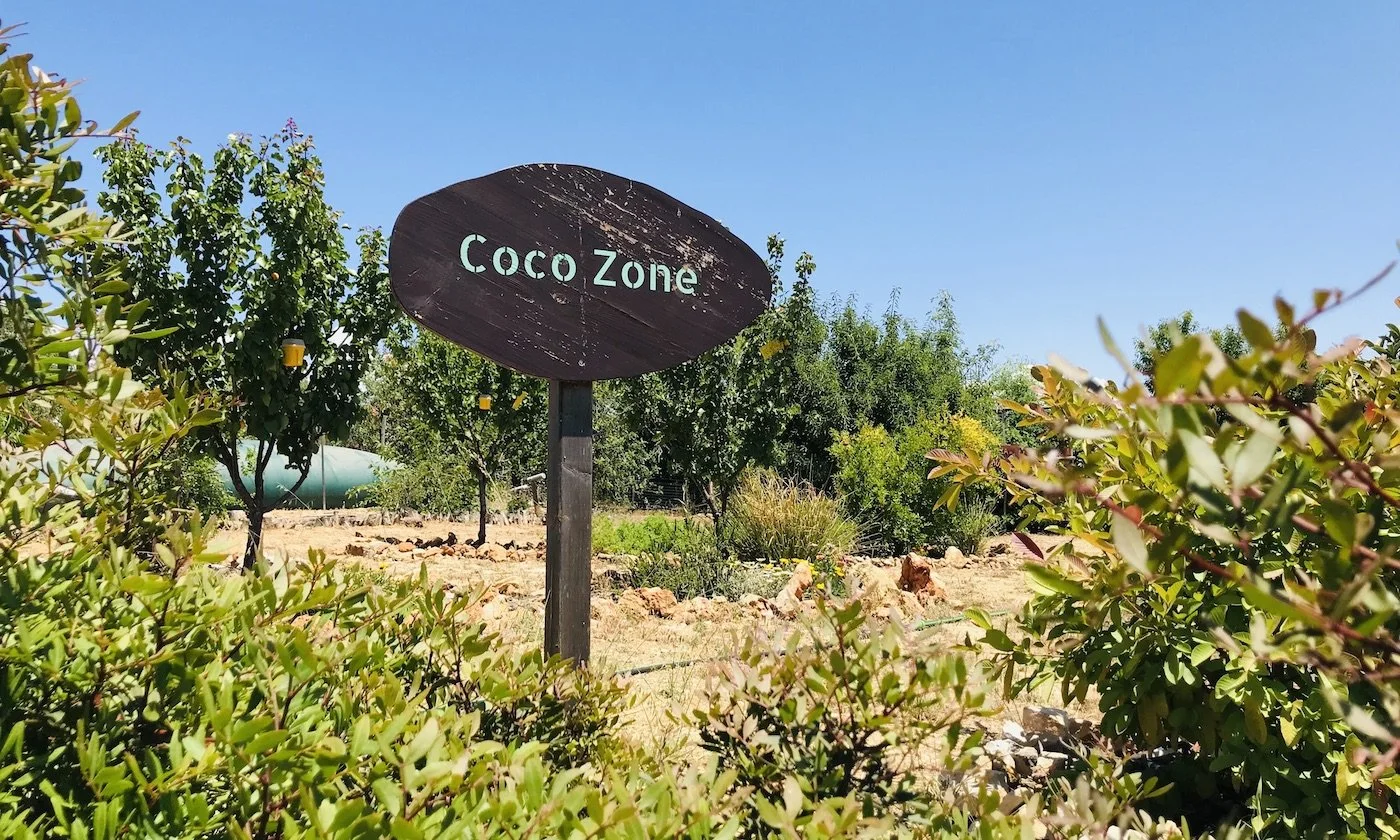
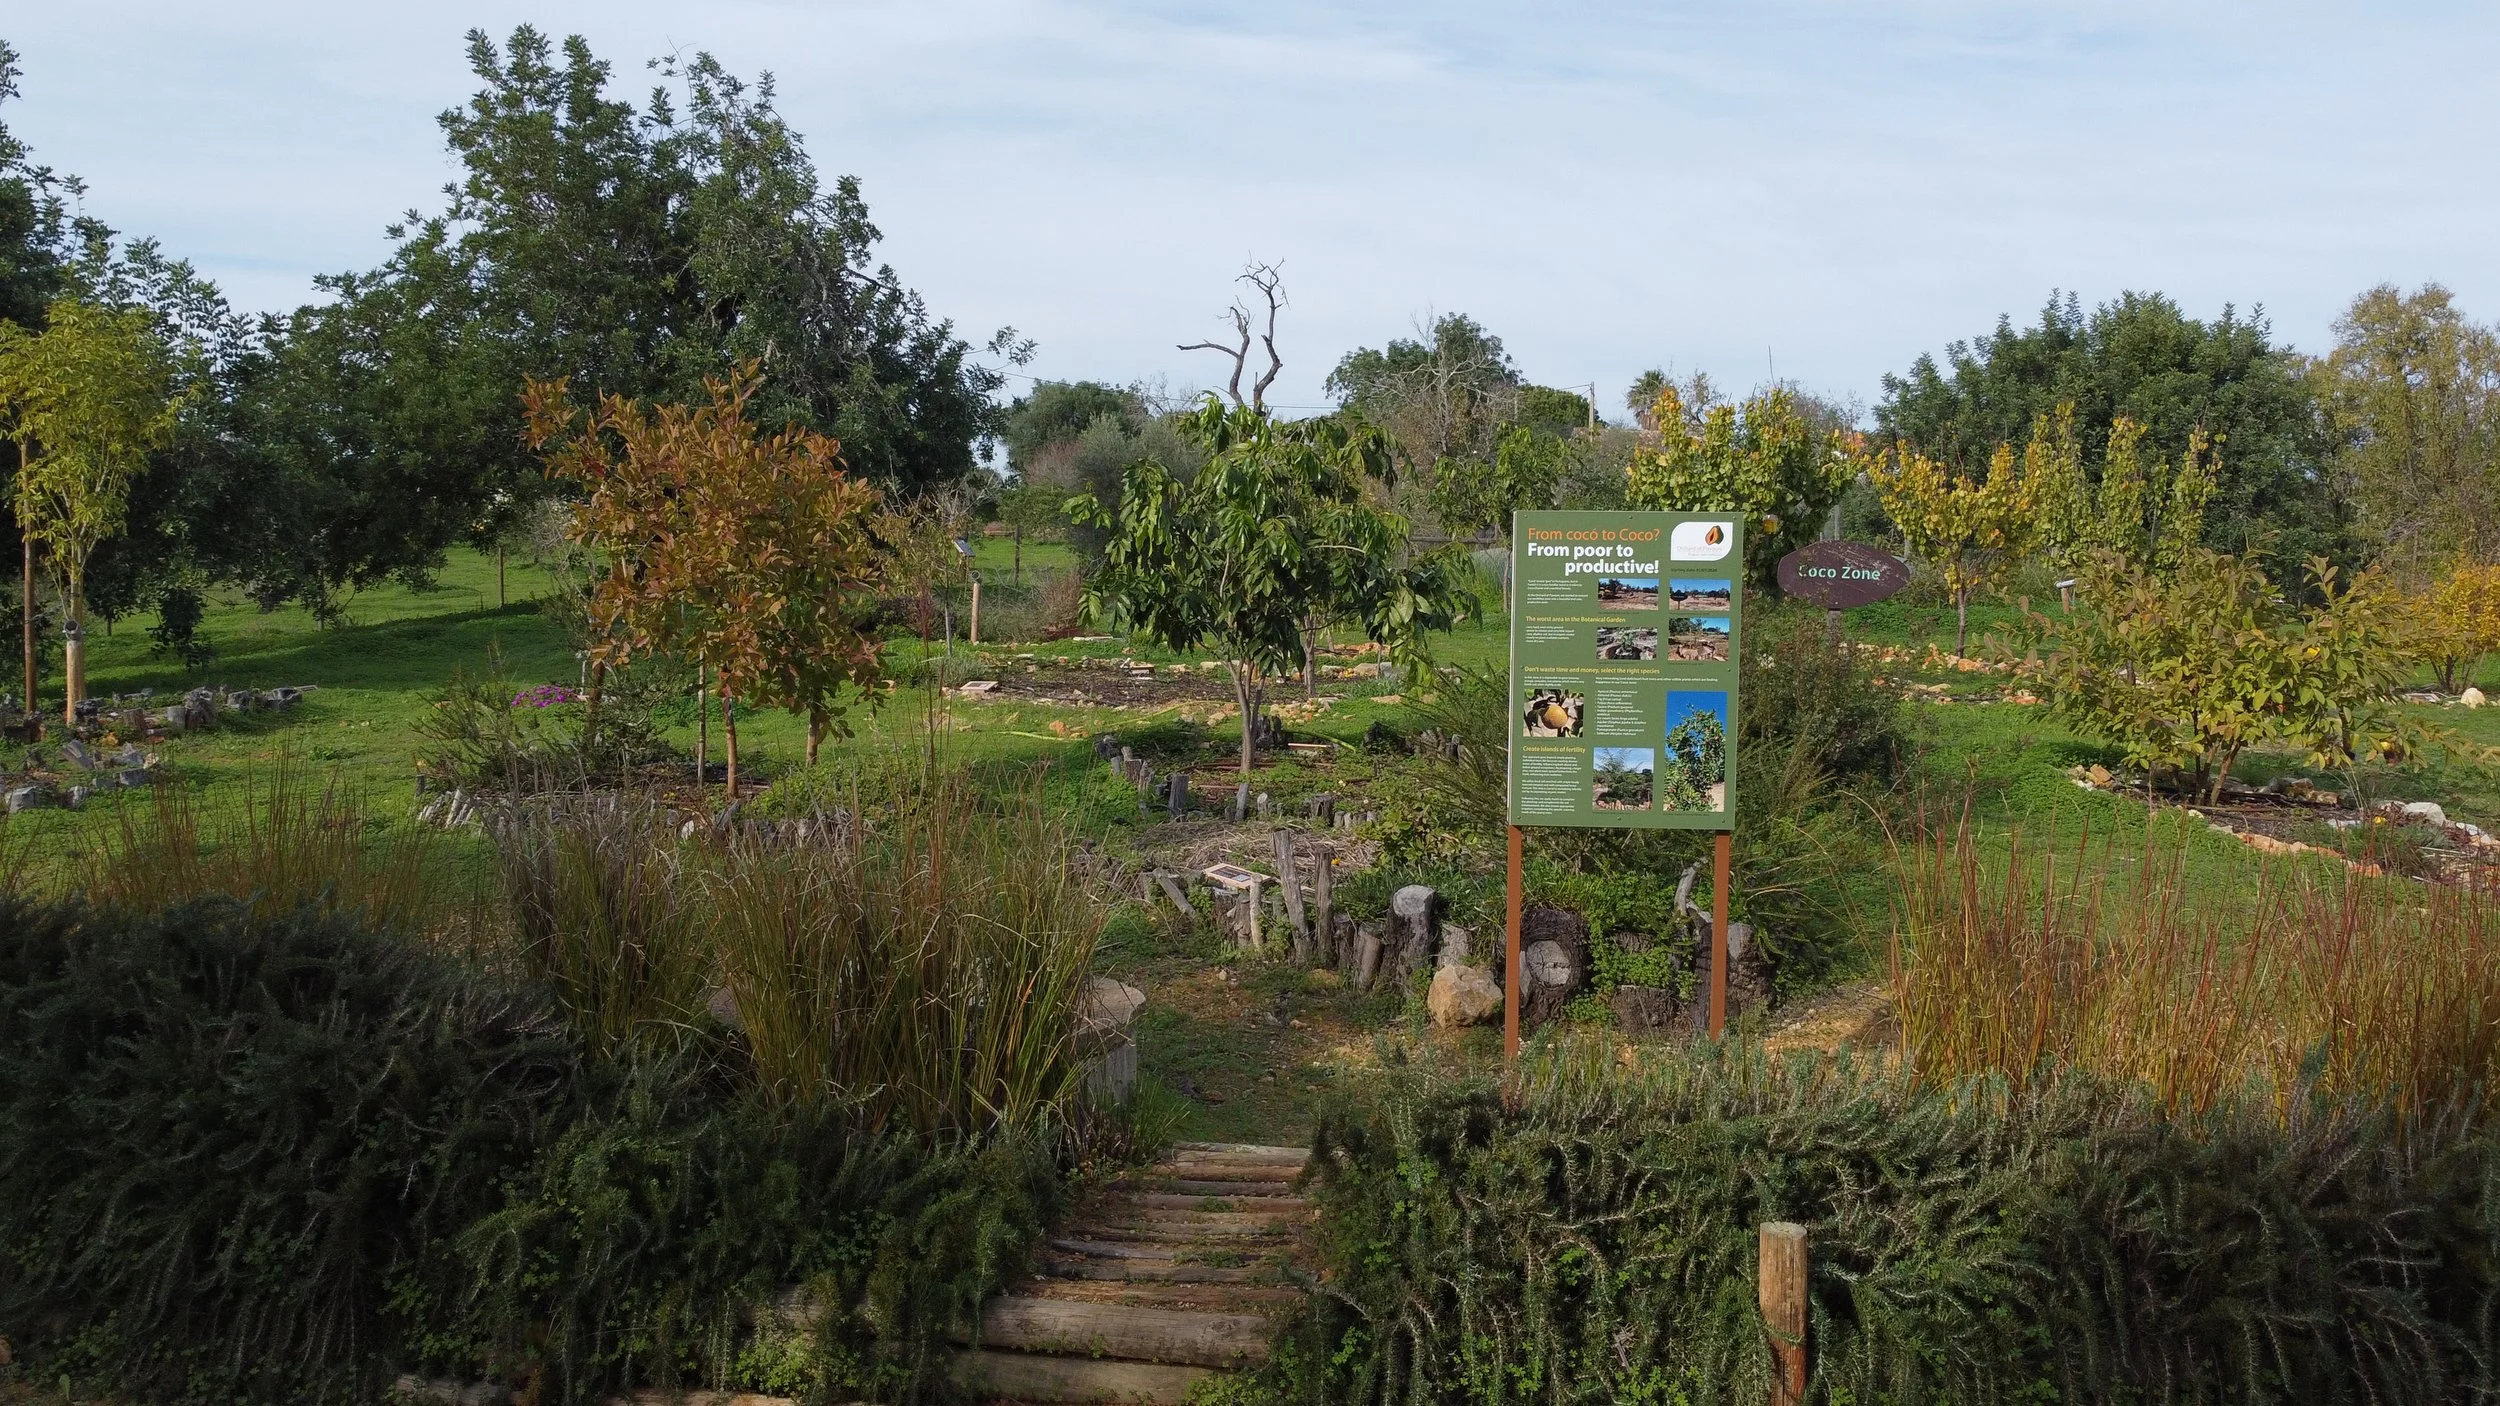
At the Orchard, we call our previously-terrible zone the “Coco Zone”. It’s a play on words, where “cocó” means “poop” in Portuguese, but in French it is a nice familiar word or it is used to refer to Coco Chanel.
But how did we convert this awful corner into a beautiful and cute project of a food forest, you ask? Read on.
Let us start by telling you why our personal terrible zone was so terrible, and you will probably find quite a few things in common with your own situation, since unfortunately it’s very likely that you already did or will run into similar circumstances in your own land / yard / orchard.
We will then tell you what’s been working for us in our soil restoration project and why, so that you can hopefully take home some learnings from our experience and apply them to your own “Coco Zone”, even if your specific challenges are different from ours.
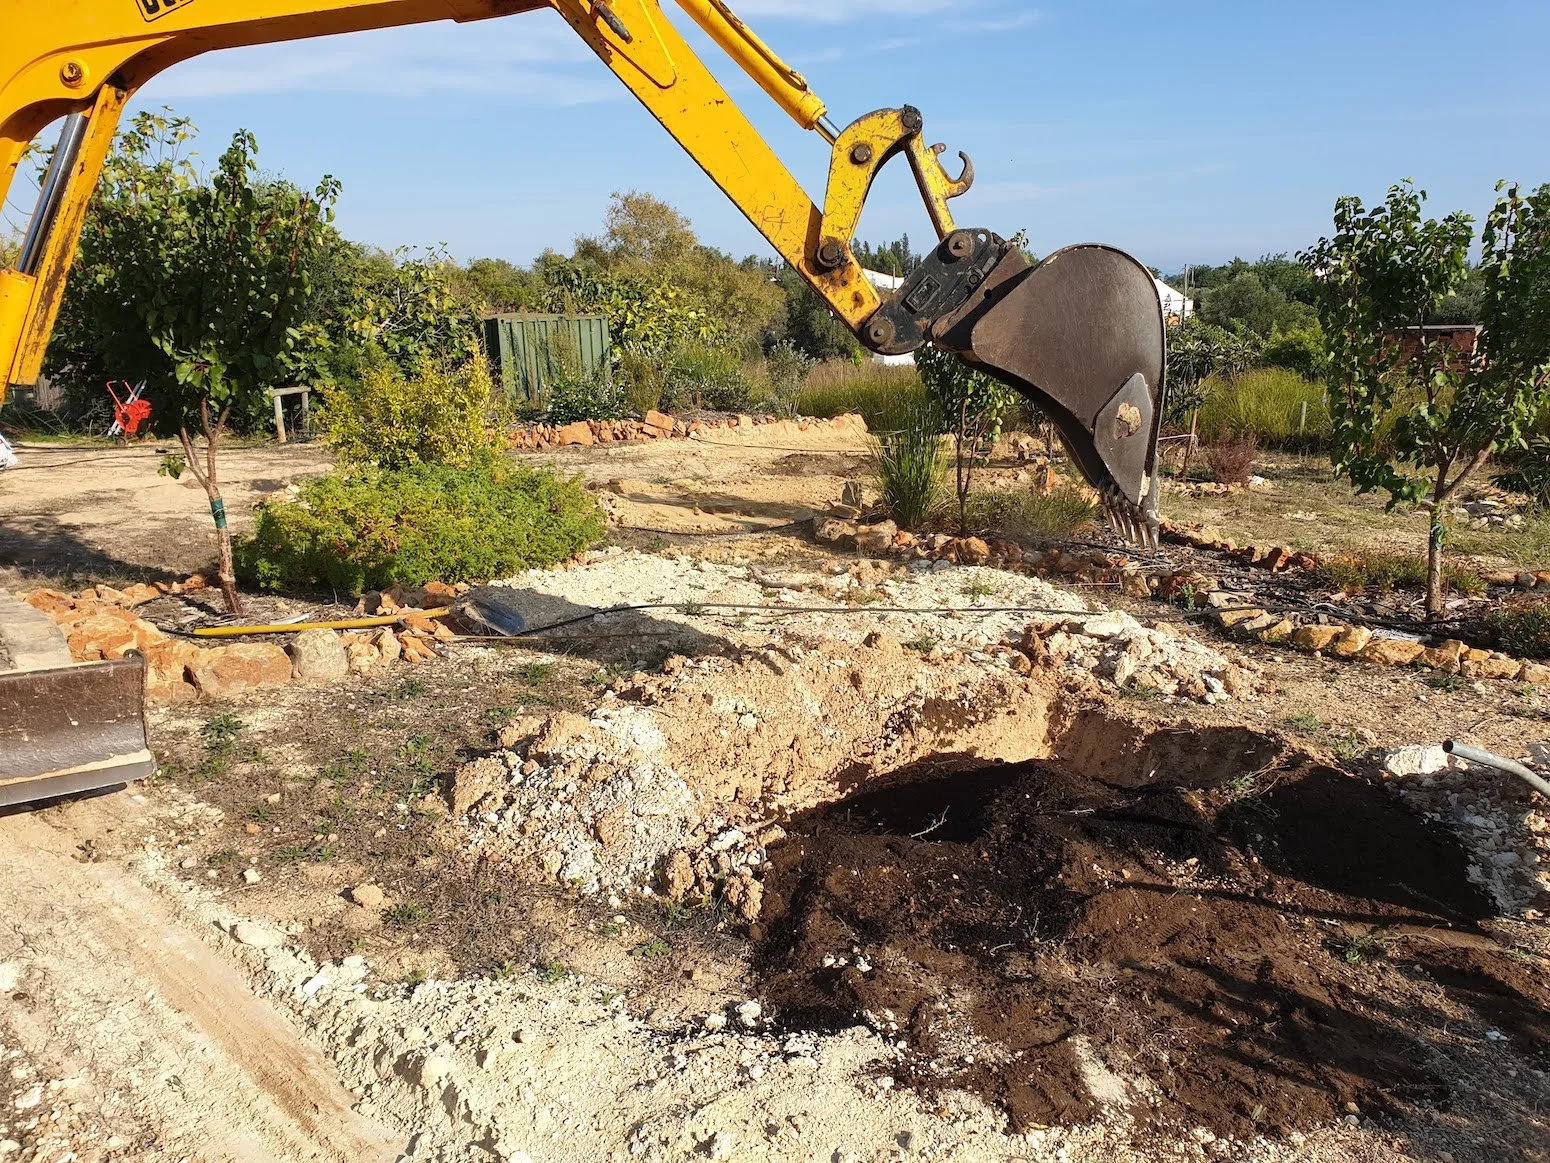
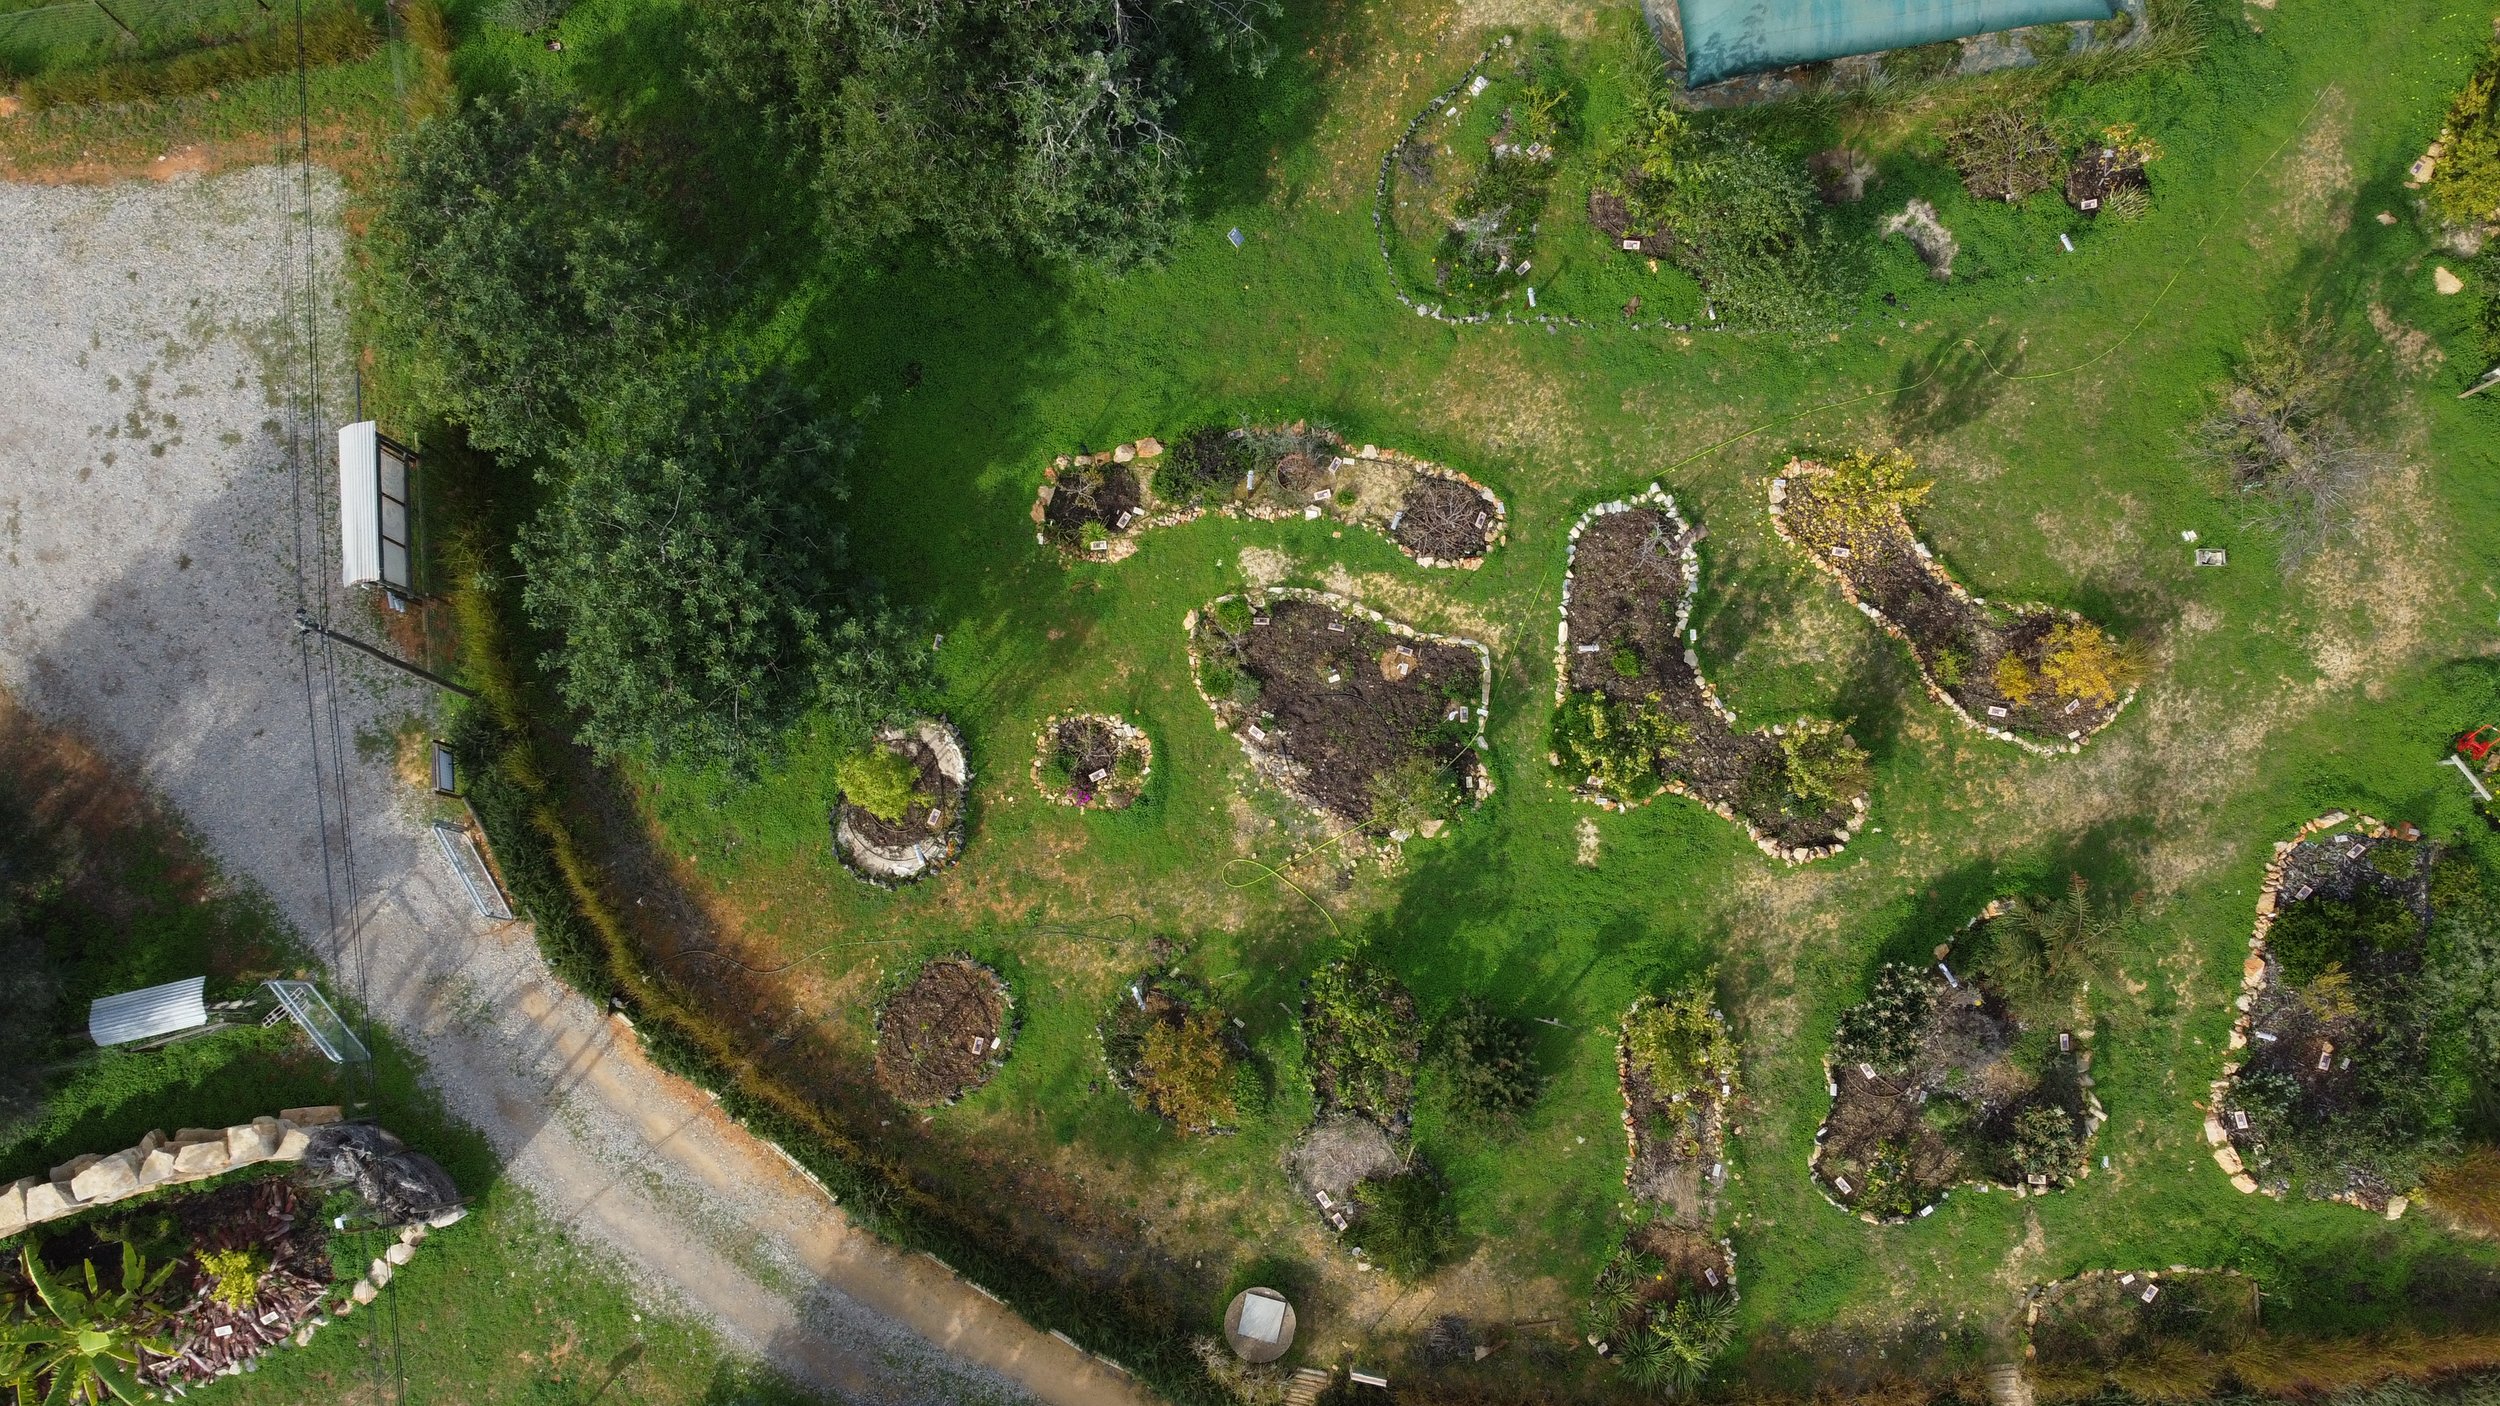
A new island of fertility being prepared by an excavator. To the right, the compost and manure being mixed in with the existing poor soil.
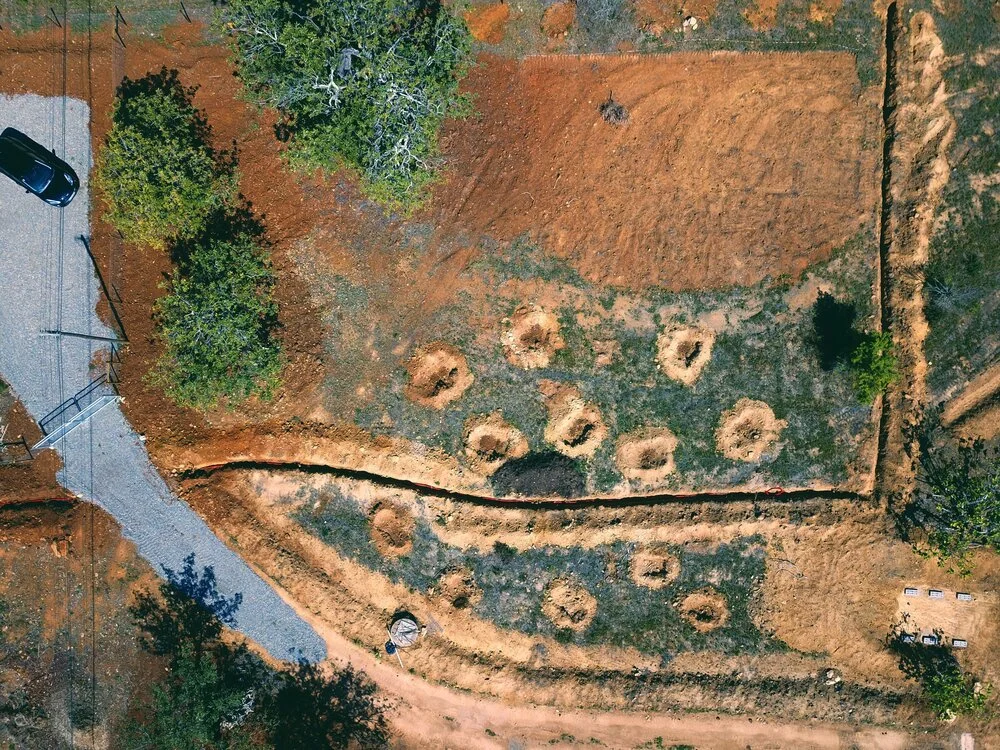
A drone view of the Coco Zone at the Orchard of Flavours, back in 2019, when most islands of fertility were dug up and when the earthworks for soil stabilization and water harvesting were done.
This is what the most terrible area in our property looked like:
We were facing very hard, even rocky ground
Being the highest area on the landscape and having no real groundcover vegetation, it was prone to erosion, which means we had almost no topsoil to work with
Associated to that, it showed to have very alkaline soil, and very low in organic matter, so even the few amounts of nutrients that might have been present in that infertile soil would not be easily accessible by most plants which were of interest to us
All these factors also meant that, during those months with no rain at all (which here in the Algarve can sometimes go up to five consecutive months in a year), the whole area would get bone dry.
Ok, so now that the situation has been assessed, it’s time to get to work on doing some real soil regeneration and converting that “cocó” into Coco Chanel. Here are the main steps we took :
1 - If necessary, stabilize the existing soil and stop erosion

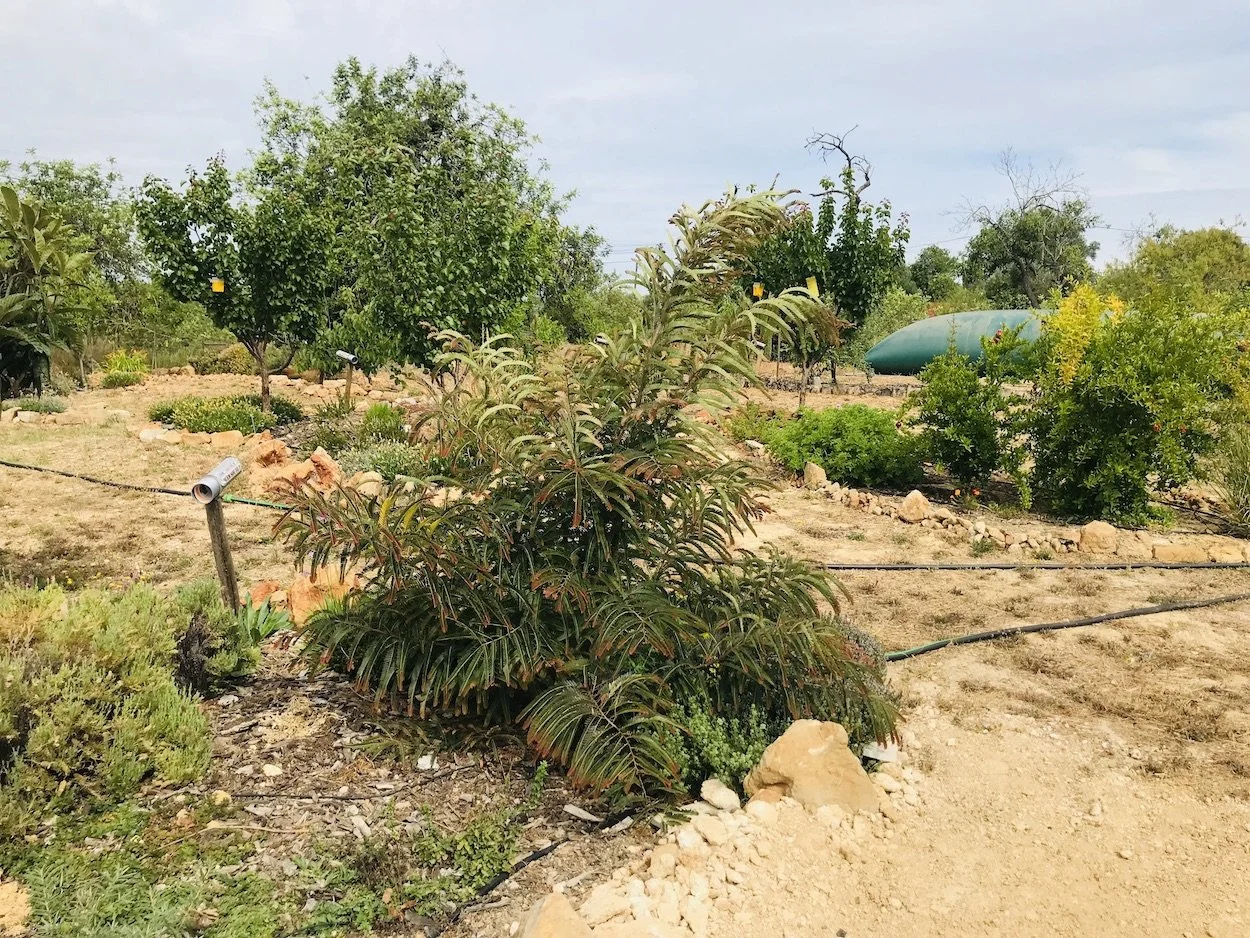
Using rows of vetiver (Chrysopogon zizanioides) for slope stabilization.
Coming at the very top of your to-do list, reshaping the existing landscape with any needed earthworks — even relatively minor ones like swales and other water harvesting techniques — can have a significant impact on what’s to come. This may very well be that decisive first step that sets in motion the move to a more fertile situation overall.
Include here the integration of any plant species that might help delimiting and protecting small embankments and other slope-stabilizing structures. In our case, we chose to use the super-functional (and even edible!) vetiver. You can learn more about the highly versatile Chrysopogon zizanioides in our previous learn article.
2 - Select the right species
Just accept it, if your dream is to grow hungry fruit trees like bananas, papayas, macadamia or avocados, this is not the place to do it. Before you use up all your money and time, it’s crucial to adjust your expectations to the ugly reality.
Do some research and find what edible plant species would adapt well enough to the existing conditions. Careful selection of the future trees is very important, since even though we’ll be working the land to better accommodate productive plants, in most cases it’s very difficult (or resource heavy) to dramatically change the soil composition.
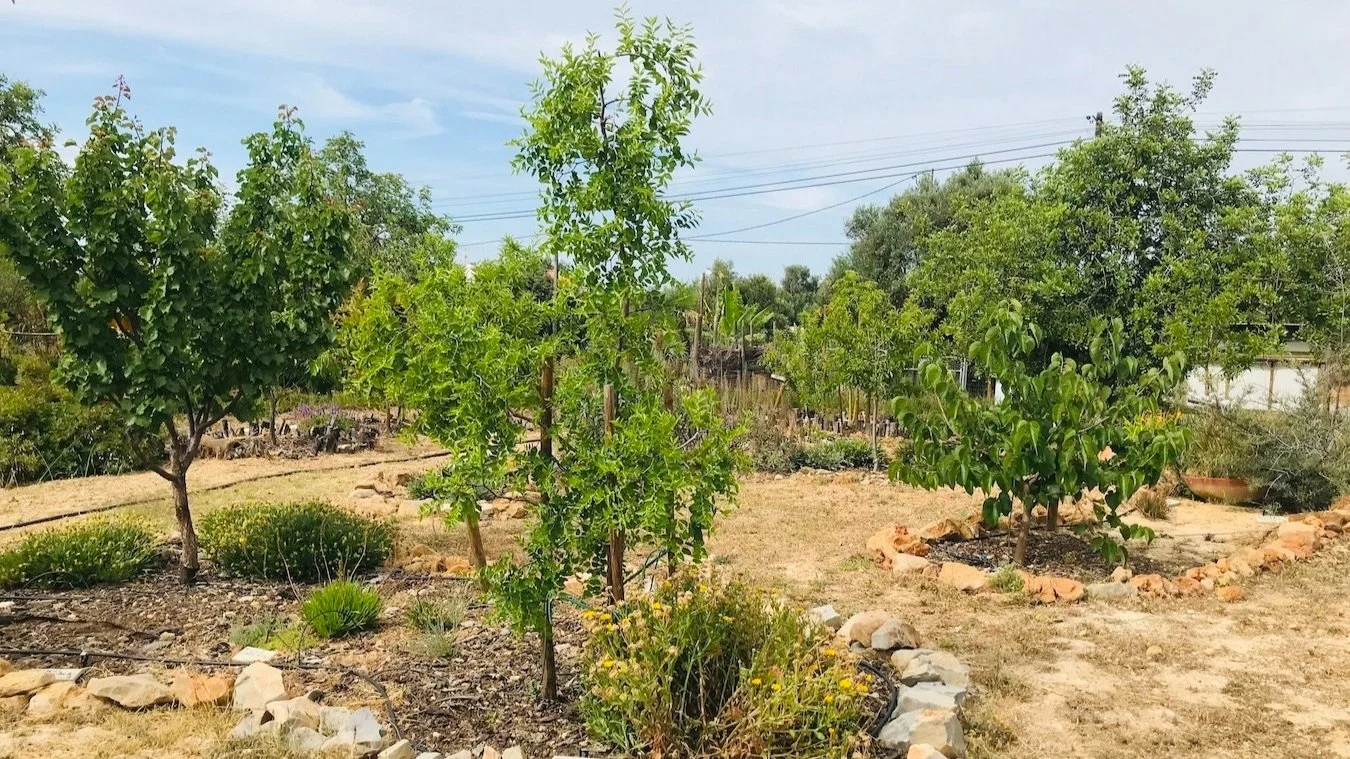
In our case, we identified quite a few very interesting (and delicious!) fruit trees which would find happiness in our Coco zone:
- Apricot (Prunus armeniaca)
- Almond (Prunus dulcis)
- Fig (Ficus carica)
- Jujube (Ziziphus jujuba and Ziziphus mauritiana)
- Pomegranate (Punica granatum)
- Indian gooseberry (Phyllanthus emblica)
- Ice cream bean (Inga edulis)
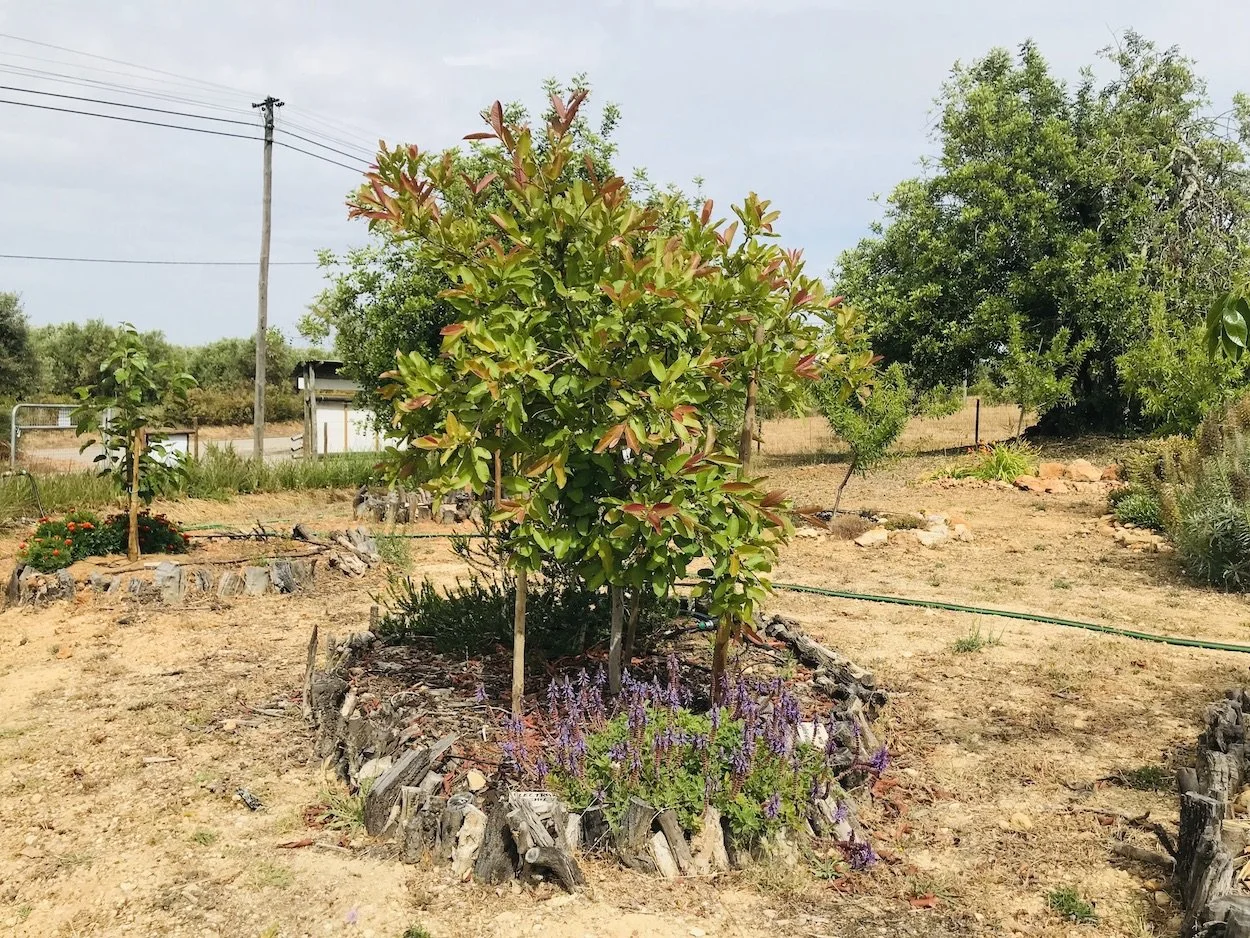
- Feijoa / Pineapple guava (Acca sellowiana)
- Guava (Psidium guajava)
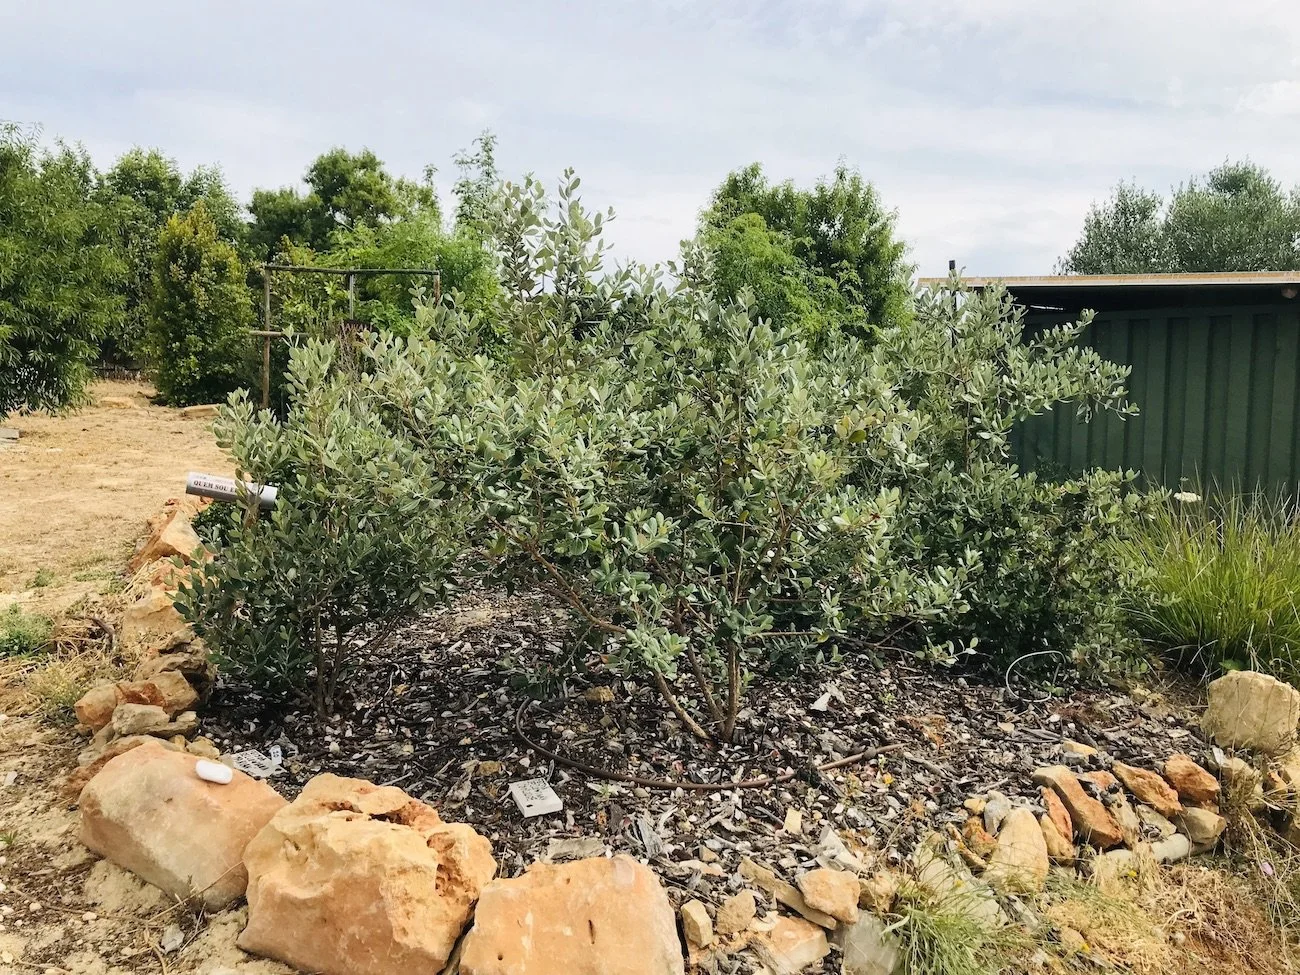
Feijoa / Pineapple guava (Acca sellowiana)
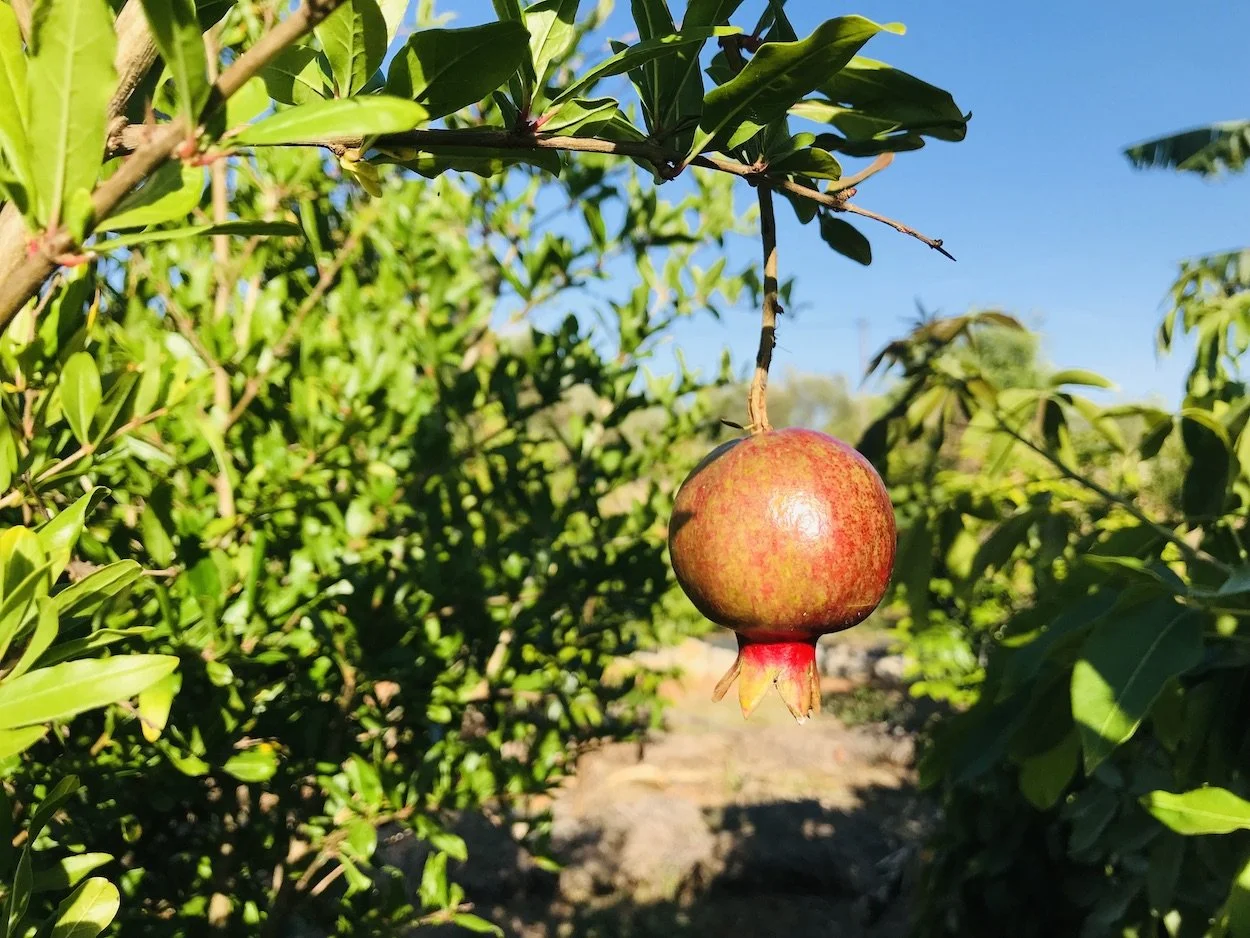
Pomegranate (Punica granatum)
Guava (Psidium guajava)
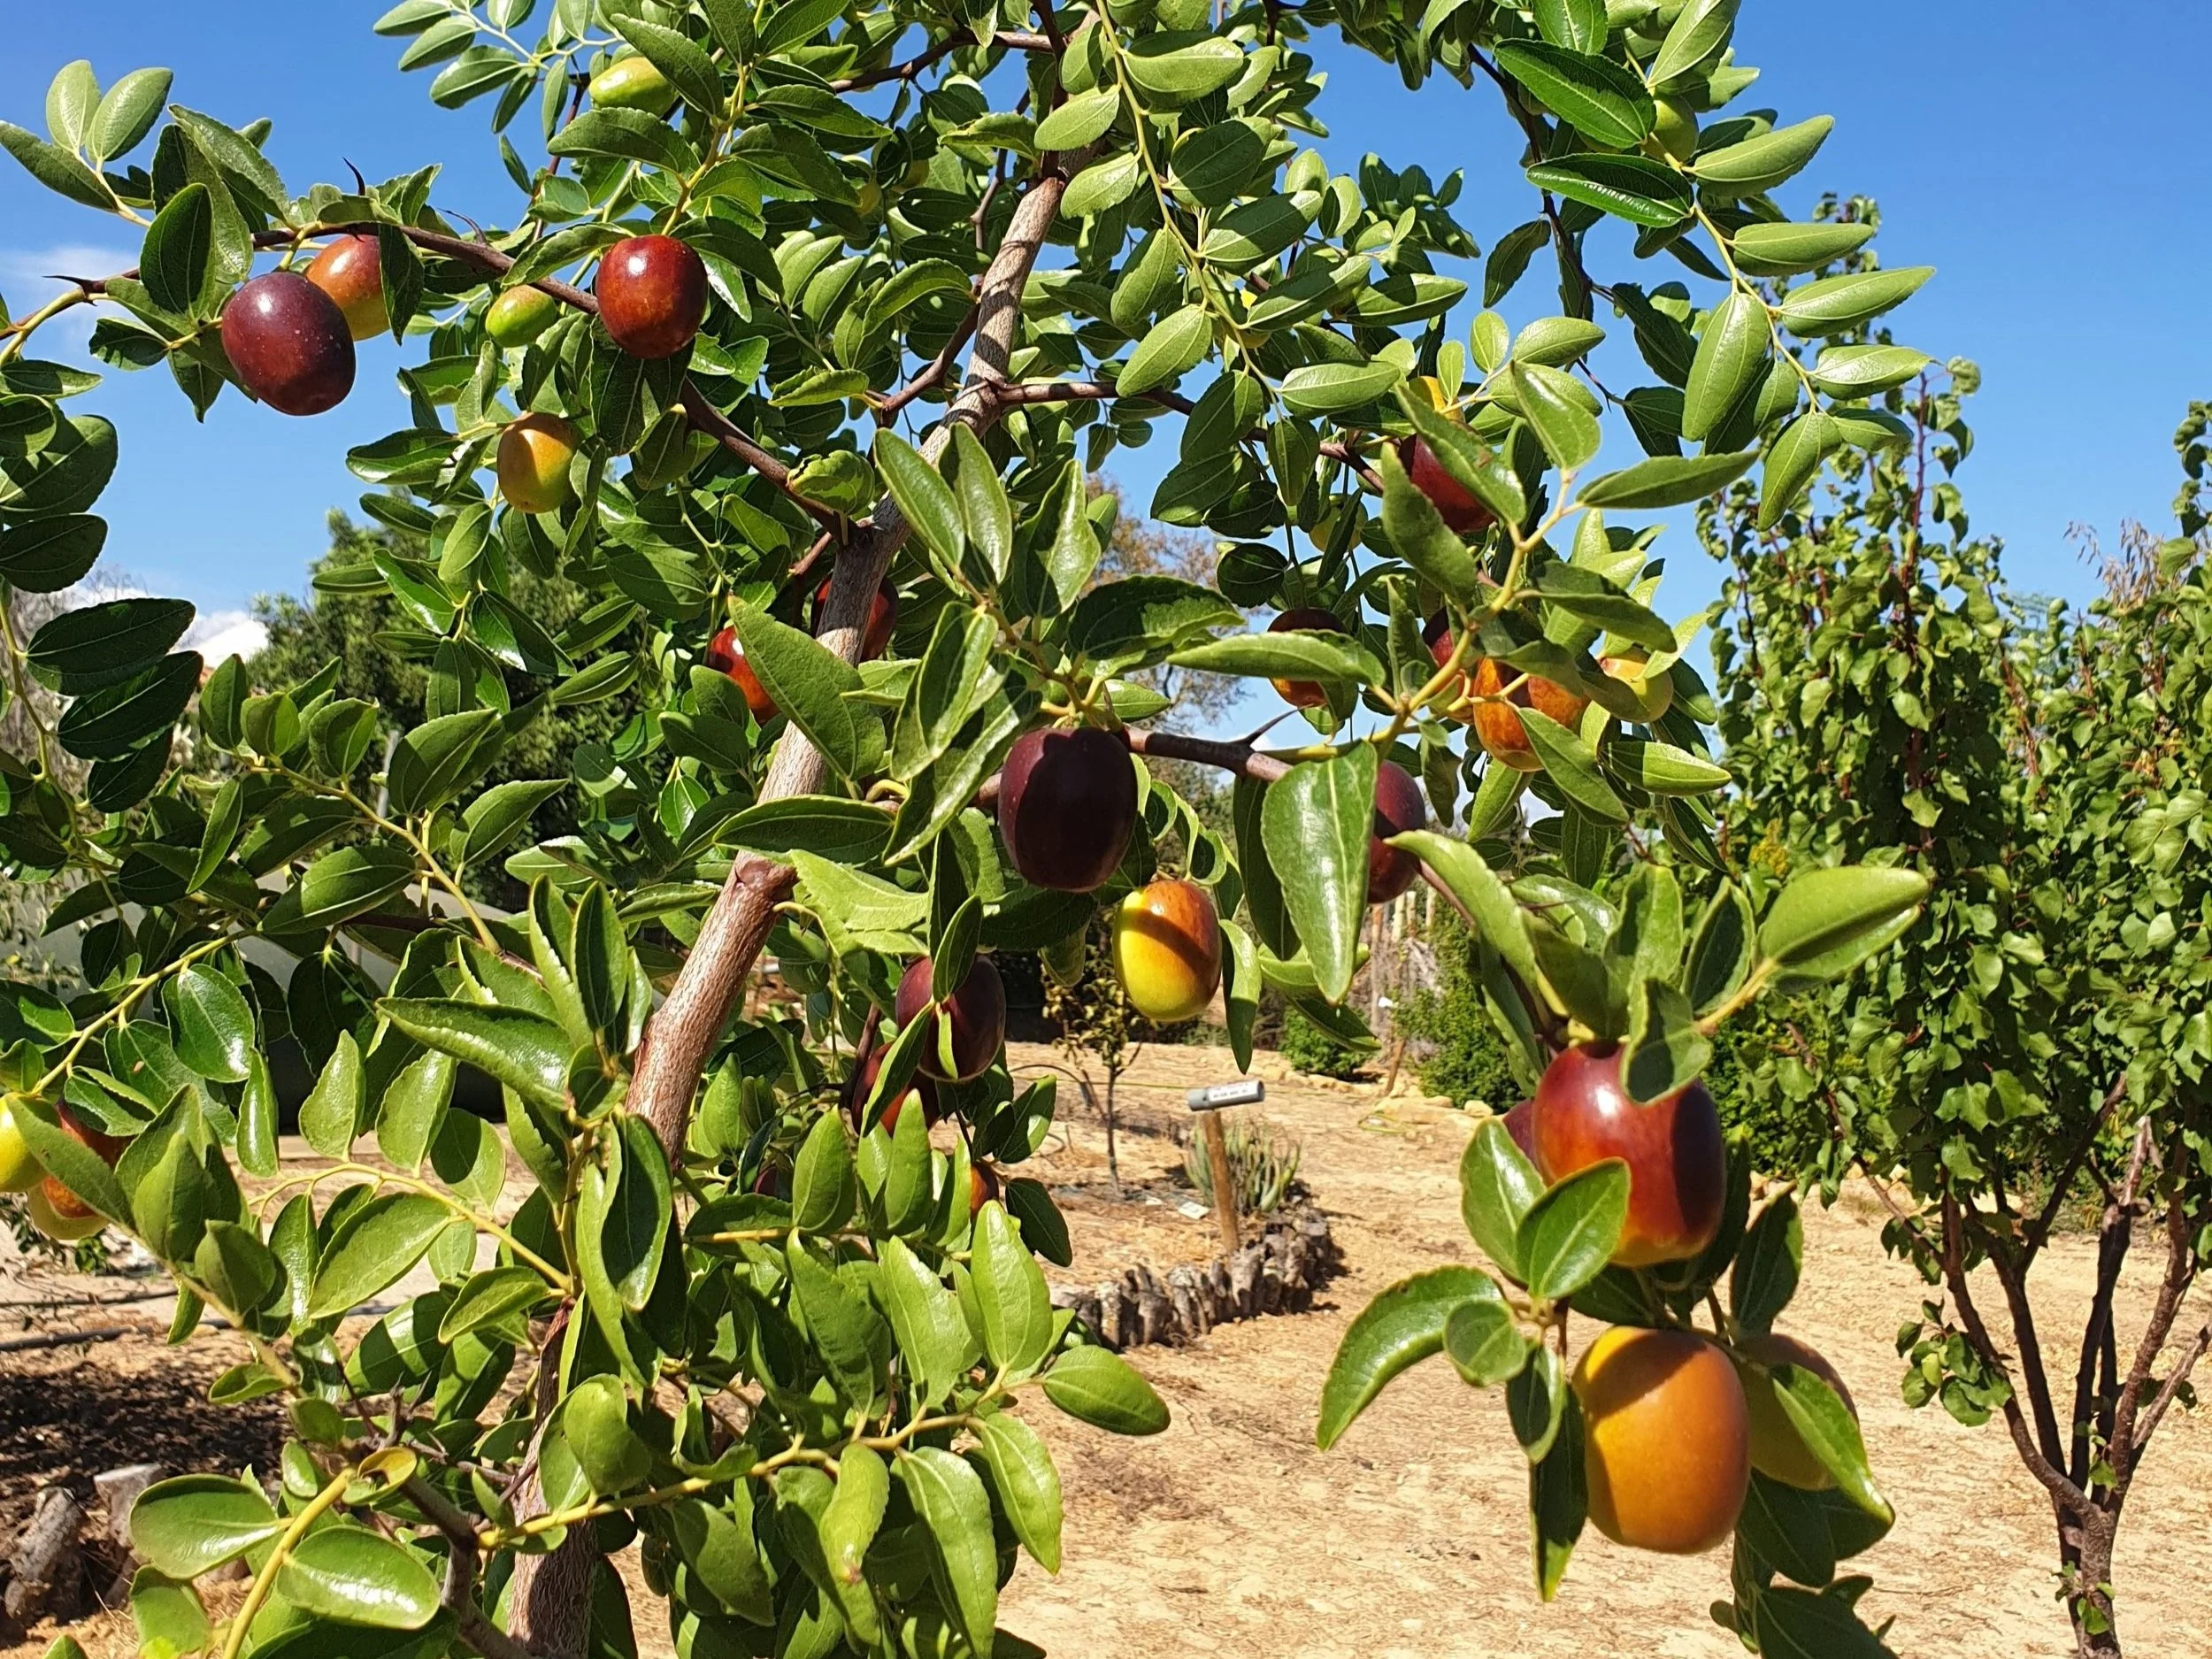
Jujube (Ziziphus jujuba)
Indian gooseberry (Phyllanthus emblica)
3 - Create islands of fertility
Raising the fertility in any area is always challenging, so go easy on yourself and focus on smaller islands instead of trying to do it for the whole place (unless you’re working with a small area).
Our approach here was never to simply plant a lonely tree in a hole, but to make the fertility zones wider and more diverse, since this presence of more organic matter and more plant life will significantly impact the new dynamics you’re trying to bring to the area, both above and — perhaps even more importantly — below the ground. The decompaction and preparation of a wider area will also ensure that the new plants’ roots will develop farther away from the trunk, making them more resilient.
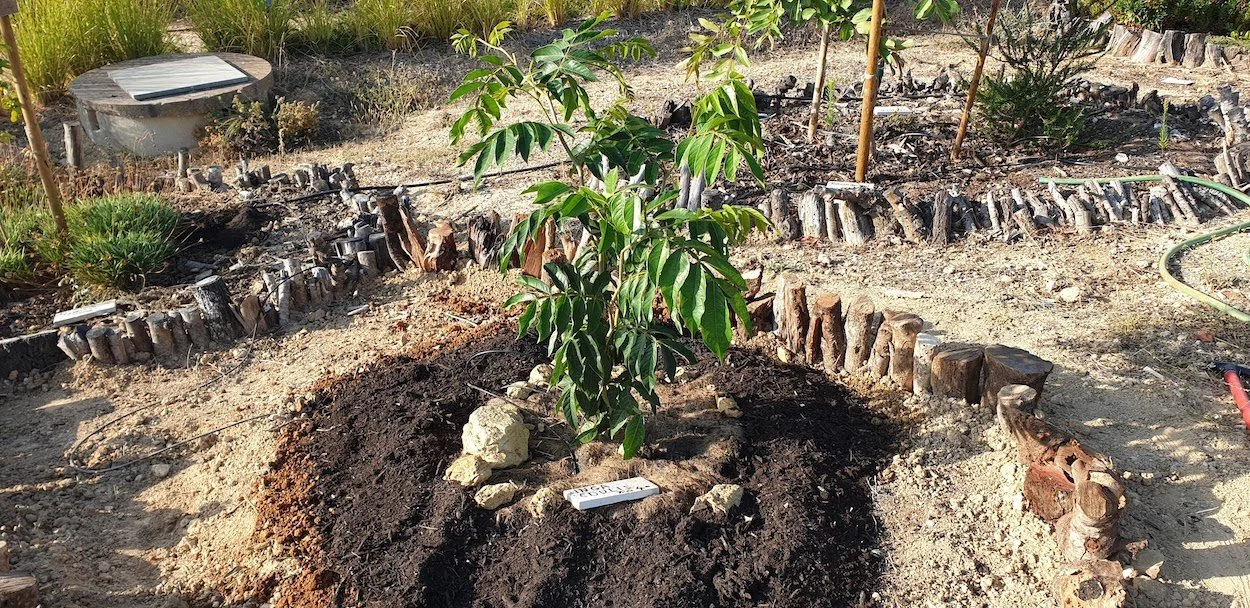
In the process of planting a brand new island of fertility, with an Ice cream bean tree (Inga edulis) as the main star.
About digging the holes, you must choose between two ways..
First option, spend days with a shovel. We advise you to marry your osteopath or book a room in a hospital. If you’re in a Mediterranean country like we are, you probably know already how much of a nightmare it is to dig deep holes in this kind of soil.
Second option, and actually surprisingly cheaper overall, is to rent a digger for a couple of hours. In a few painless minutes, the digger will decompact the soil and mix the local soil with compost and some horse manure, leaving you ready to come and finish it off by placing your new edible companions.
Whether you’re working in a huge regenerative agriculture project or simply preparing your backyard for starting a small veggie patch, you probably know that incorporating organic matter is key to any attempt at recovering infertile soil. In our Coco zone at the Orchard of Flavours, we used two wheelbarrows of locally sourced compost per tree and a minimum of 35 liters of composted horse manure bought from a Portuguese brand we trust.
After that, make sure to bring in mulch to finish the plantings and complement the soil improvements already made, and set up appropriate irrigation always having in mind the watering needs of your different baby trees.
We really hope that reading about our learnings will help you dealing with any terrible zones that you may encounter in the future. Stay brave in your soil restoration efforts and keep turning that poop into gold!
This article was compiled by Miguel COTTON & Miguel PEREIRA. If you have any questions or suggestions, do not hesitate to contact us. miguel@orchardofflavours.com